

Part 1
Project Setup
🎯 Objectives of this section
By the end of this section, you will have:
- ✓ A functional 4D project
- ✓ BWEB component installed with admin.myblog.fr domain configured
- ✓ A POST table with all necessary fields
1.1 Creating the 4D Project
New project
- Launch 4D v20R9 (or higher version)
- Menu: File > New > Project...
- Choose a location and name your project: MyBlog
💡 In this QuickStart we start from a new project but you can also use an existing 4D project if you wish to add BWEB to an already developed application.
1.2 Downloading and Installing BWEB
Component Download
- Go to https://bspoke.fr/ressources
- Fill out the download form
- Download BWEB version 20R (zip file for Windows, or dmg for Mac)
- Unzip the downloaded file and copy the Components folder to the root of your MyBlog project
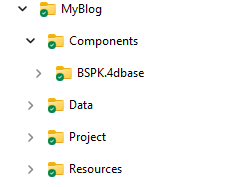
Project Structure
⚠️ Restart your project for the component to be properly recognized
Installation via BWEB Launcher
- Start the BWEB launcher by running the BSPK_LAUNCH method
- You will be asked to confirm the installation of the component methods
- Then you will arrive at the launcher screen itself where you will click on Install BWEB
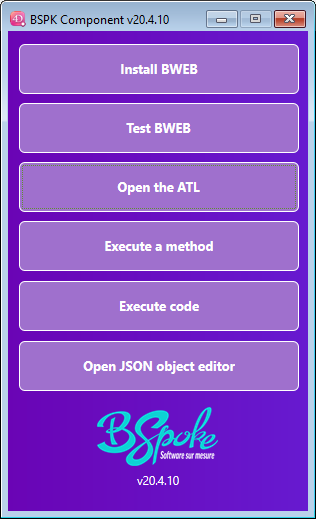
BWEB Launcher
📚 You can find the complete installation steps in the BWEB documentation
- Follow the steps in the graphical wizard
- At the certificate selection step, use the ones provided in the resources of this QuickStart. These are self-signed certificates for the myblog.fr domain
You can download the complete project by following this link: QuickStart Resources
⚠️ Important: When creating the first domain, enter: admin.myblog.fr
- Complete the installation
💡 The installer automatically configures all files and folders needed for BWEB to function (component, Node.js dependencies, Tailwind CSS, etc.)
📚 Complete Documentation: For technical installation details, refer to the official BWEB documentation.
Installation Verification
- At the end of installation, the launcher offers you to open your admin.myblog.fr domain
- Since the provided certificate is self-signed, it is normal for your browser to display a warning but you can continue
- Your browser opens to the BWEB login page
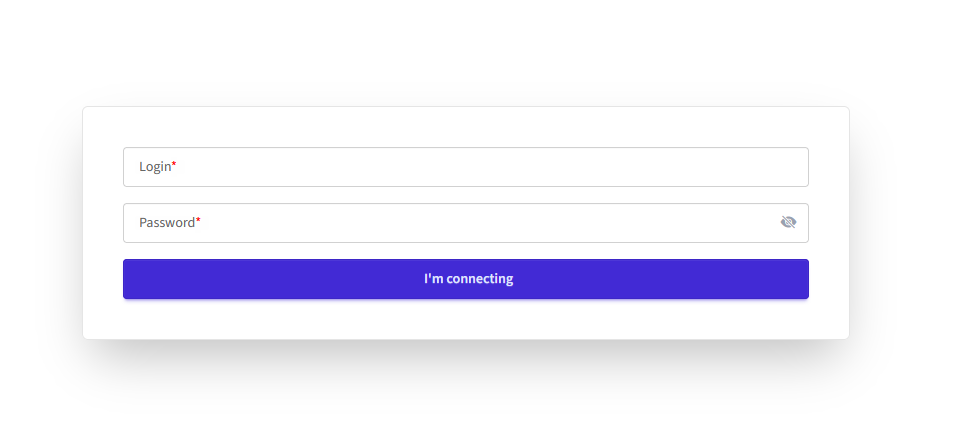
Login Page
✅ If the login page displays correctly, BWEB is properly installed!
💡 The login for the first user automatically created by BWEB is mandatory DEV and you can choose your password.
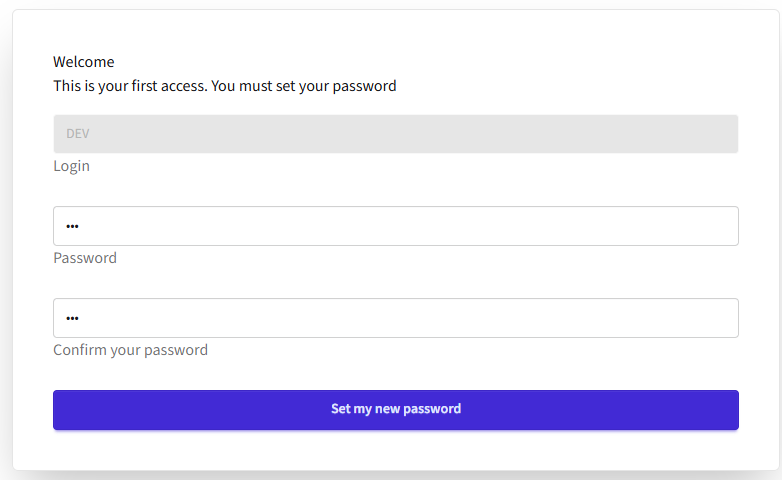
Password Creation
After validation you should get the home page, in French or English depending on your system preferences.
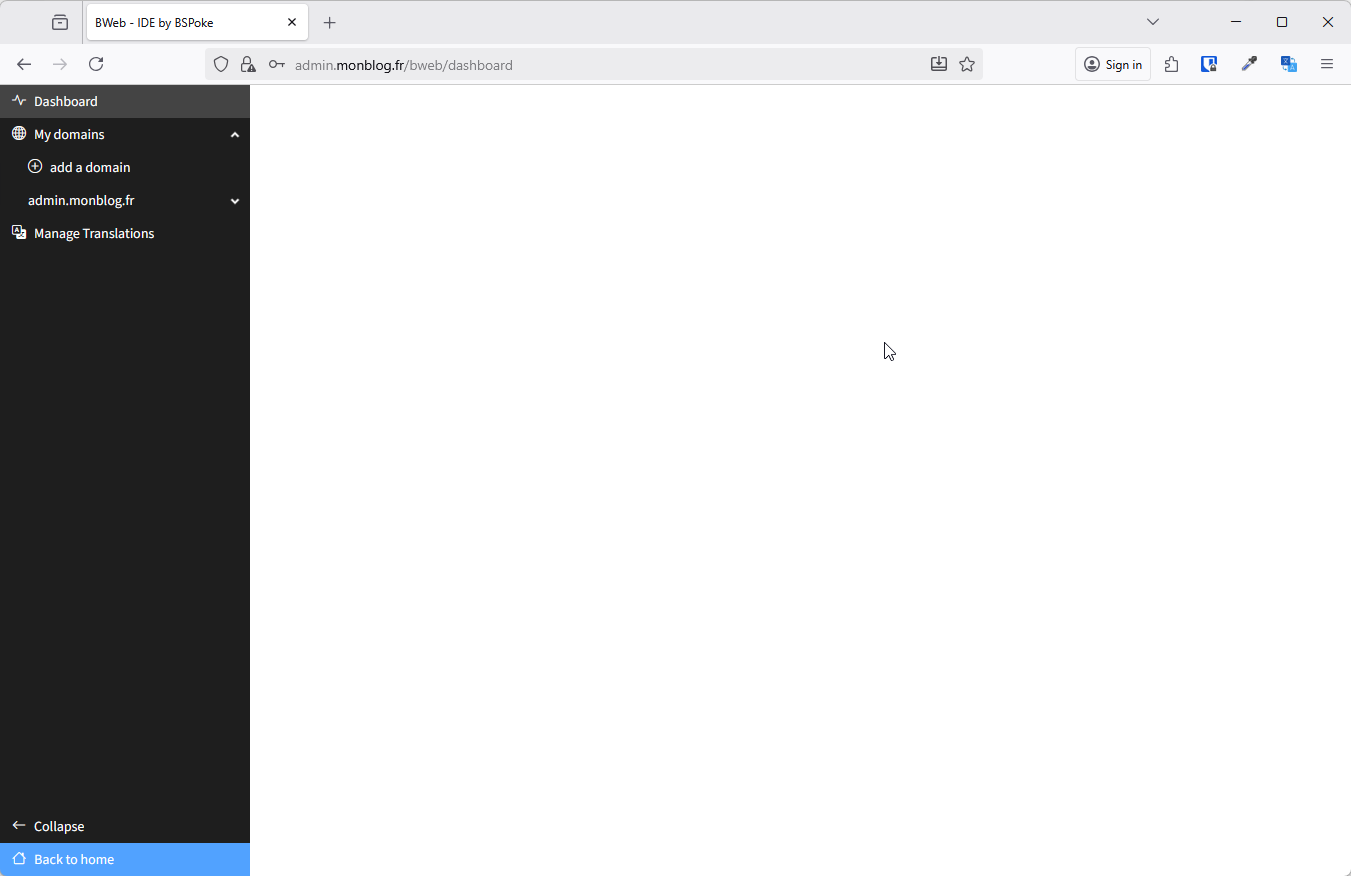
BWEB Dashboard
1.3 Creating the POST Table
Table Structure
Back in 4D, you will create the POST table that will contain all your blog articles.
- Menu: File > Structure... (or Cmd/Ctrl + Shift + S)
- Note: you will notice that your structure already contains a large number of tables created by the component, which you must not delete or rename
- Click on New Table
- Name the table: POST
- Add the following fields and indexes:
| Field Name | Type | Index | Description |
|---|---|---|---|
| title | Alpha (255) | Yes | Article title |
| slug | Alpha (255) | Yes | URL-friendly article identifier |
| summary | Text | No | Short summary |
| content | Text | No | Complete HTML content |
| imageName | Alpha (255) | No | Image file name |
| isPublished | Boolean | Yes | Publication status |
| publicationDate | Date | Yes | Publication date |
- Save the structure
What are these fields used for?
slug
Used in URLs to have readable links
Example: /article/my-first-article instead of /article/1
summary
Short text displayed on the home page in the article list
imageName
Name of the image displayed both on the home page (article grid) and at the top of the detail page. Use the same ratio everywhere for consistent rendering, especially on mobile.
isPublished
Allows you to create drafts (false) before publishing them (true). Only articles with isPublished = true will appear on the public blog.
💡 BWEB can also automatically generate or complete your classes (DataClass, Entity and EntitySelection).
You must first authorize the component to modify your dataclass (by creating the "vbAddBSPKDataClass" parameter or simply by setting it to "True" if it already exists in your parameters, depending on the BWEB component version) then by launching the generation with the BSPK_UTIL_UPDATE_DATACLASS method:
⚠️ Important: All code is generated between the /*** START BSPK ***/ and /*** END BSPK ***/ tags
You can therefore add your own code outside these tags without risk of being overwritten.
For the sake of respecting existing code, this action is not performed by default by BWEB, although it is not destructive.
1.4 Adding Test Data
We will now add test data for the rest of the QuickStart. To do this we will use ATL (Administration Table List) which is a powerful and intuitive data visualization and editing tool for 4D developers.
1.5 Final Verification
Before proceeding, verify that:
- ✅ BWEB is installed and the login page is accessible
- ✅ The admin.myblog.fr domain was created during installation
- ✅ The POST table exists with all required fields and POST, POSTEntity and POSTSelection classes
- ✅ You can log in with the DEV user
🎉 Next Step
Your project is now ready! Head to Part 2: Admin Domain - Backend to create the article management back-office.
Need project resources?